Install Optty
To get started, the Optty plugin needs to be installed onto your Wordpress/WooCommerce store.
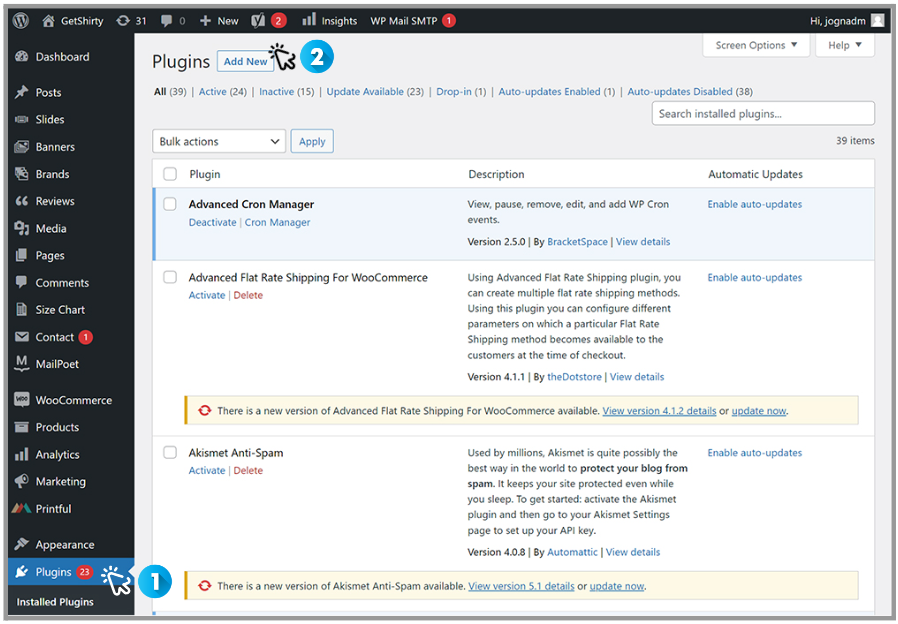
Once you’ve logged into the admin portal of your store, click Plugins on the left hand menu and then Add New at the top of the page.
Then search for Optty and click on the [Install Now] button.
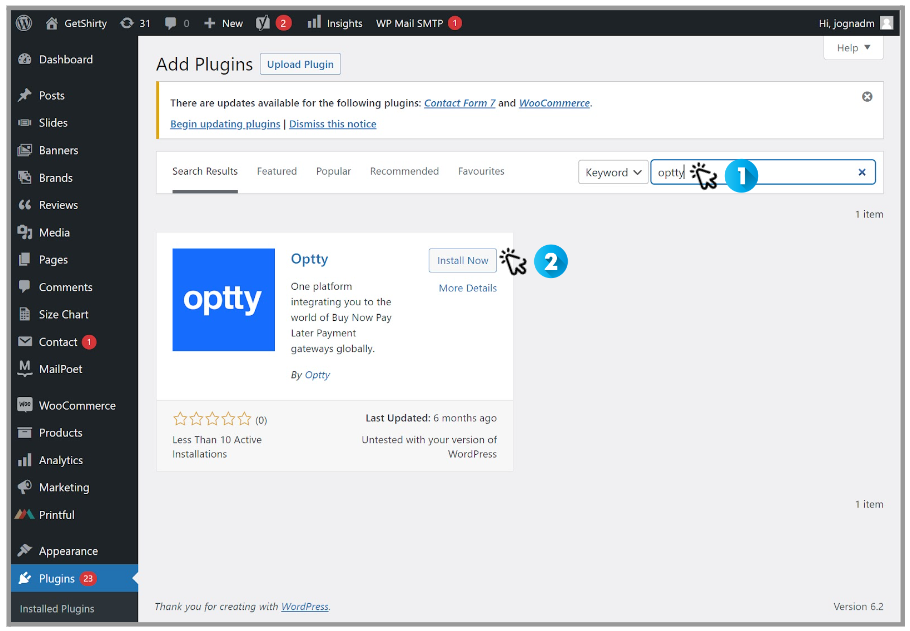
Once it's installed, the [Install Now] button will turn into an [Activate] button, which you will now need to click.
Next, you'll need to configure the Optty plugin. You can get to the settings page by clicking [Settings] under WooCommerce in the left hand menu, and then selecting the [Payments] tab at the top of the page.
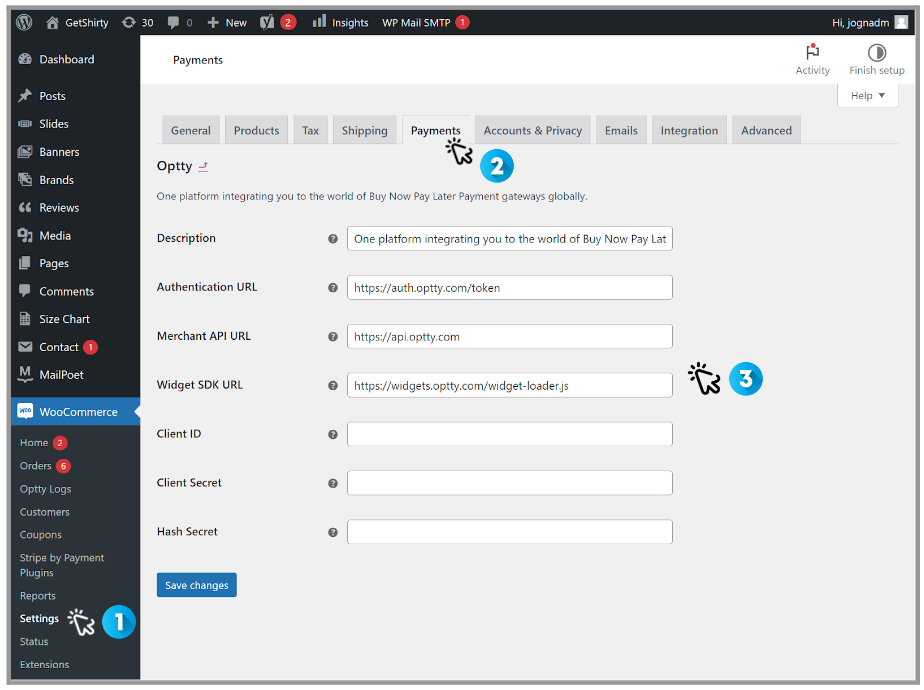
On this page, the first field is the description which will appear on your checkout page.
You will also need to input the Authentication URL, Merchant API URL and Widget SDK URL, which you can find below. Choose either the Sandbox or Production environment depending upon whether you're testing or ready to launch.
Update Cart and Checkout Widget
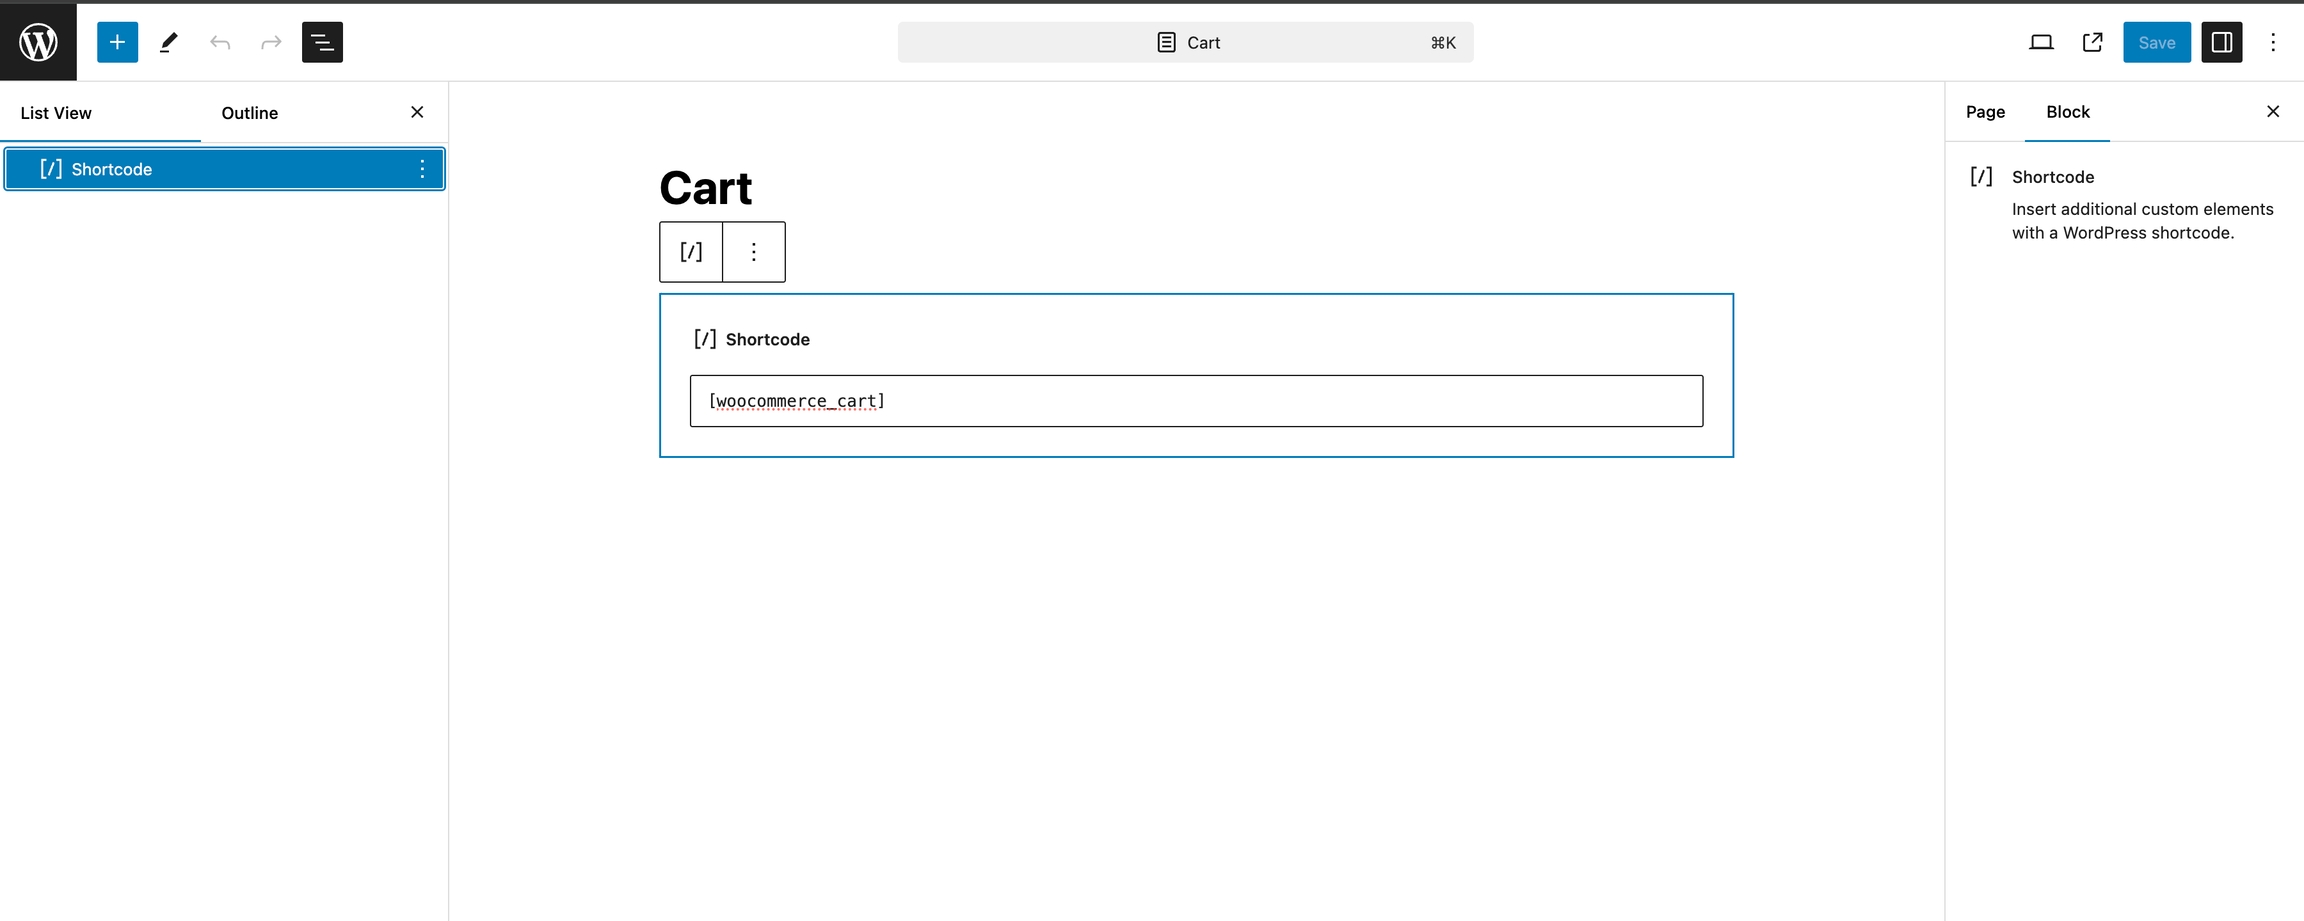
In this step, we will link the Optty checkout and cart to your site. Go to Pages on the side navigation bar. For the Cart Page and Checkout Page, go through the two following steps, remove all content on the page add a shortcode block and enter the following, for the checkout page enter "[woocommerce_checkout]" and for the cart page enter "[woocommerce_cart]".
To add a shortcode block click the blue "+" button in the top left and select shortcode.
The final page for both should look like the below image.
Sandbox / Testing environment
Production URL
Finally, input your Client ID, Client Secret, and Hash Secret.
For the sandbox environment, these can be found in your welcome email under Optty API Credentials. Please note that the Hash Secret may also be called hmac or redirect secret.
Production credentials are provided to you once you’ve completed the onboarding process by one of the Optty team members.
Click [Save changes] once all of the information has been entered.
In your checkout, you will now have Optty Payment as an additional payment method (without any APM options, until you add them).
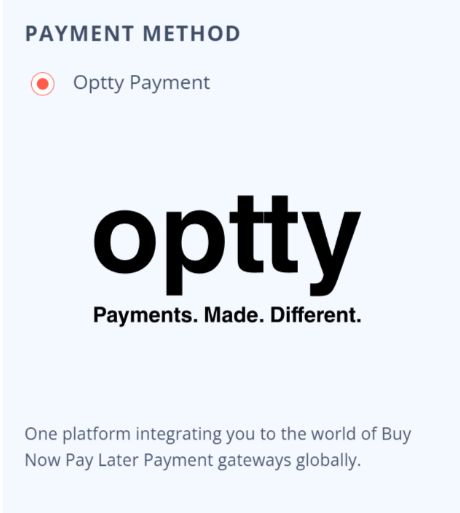
If you want to change the name “Optty Payment”, you’ll need to do so in the source code.
On your server, in your Wordpress folder, you need to navigate to /wp-content/plugins/optty/src/classes and open the file “class-optty-gateway.php”.
Find the line that says:
$this->title = 'Optty Payment';
And change the words between the apostrophe’s to what you would like it to say.
If you would like to change or remove the image, find the line that says:
$this->icon = ‘https://widgets.optty.com/images/optty/black/optty-sub.svg';
And change the URL between the apostrophe’s to a new image or leave it blank to remove the image entirely.
If you encounter any CORS-related errors while loading the Optty widget on your site after completing the setup, please ensure your domain is added to the "Whitelisted Domains" in the Optty Universal Payment Platform (UPP). This option can be found under the "Account Details" section. Please ensure that you use the domain with HTTPS only, and do not include a trailing slash at the end of the URL (ie: https://www.yourdomain.com).
Once you have completed these steps and for the right payment options to appear at your checkout, you will need to add them in the Optty Universal Payment Platform (UPP) by performing steps as shown in this Support Article.