Developer Docs
  • 👋Get Started
  • Add Payment Methods in Optty
  • Custom API | Headless
    • 🖥️Direct API Integration
      • Environments
      • Order Flow
      • 1️⃣Create Access Token
      • 2️⃣Get APM Options
      • 3️⃣Create Order
      • 4️⃣Handle Payment Response
      • 5️⃣Refund Order
      • 🔥Handling Exceptions
  • Platforms
    • ◾BigCommerce
      • 🚀Activate Optty
      • ⚡Add Optty Widgets
        • 1️⃣Install the App
        • 2️⃣Create Widget Token
        • 3️⃣Edit Your Template
        • 4️⃣Widget Configuration
      • 💳Refunds
    • Magento 2
      • Install Optty Module
      • Configure the Optty Extension
      • One Step Checkout
    • Salesforce Commerce Cloud
      • Component Overview
      • Implementation Guide
      • Operation and Management
      • User Guide
    • 🟪WooCommerce
      • 🚀Install Optty
      • ⚡Setup Widgets
      • 💳Refunds
  • Widget
    • Widget Setup and Integration
    • Create Order Widget Integration
    • Handle Order Payment Widget Integration
  • API References
    • Create Order
      • Create Order Response
    • Refund Order
    • Void Order
    • Capture Order
    • Transaction Details
    • Create Customer Session
    • Best Practice
  • Go Live
  • Universal Payment Platform
    • Support Articles
Powered by GitBook
On this page
  1. Platforms
  2. BigCommerce
  3. Add Optty Widgets

Widget Configuration

PreviousEdit Your TemplateNextRefunds

Last updated 1 year ago

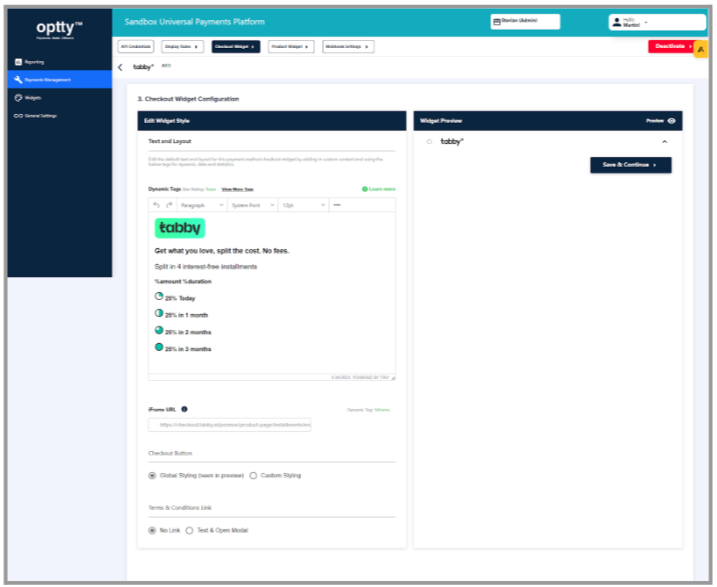
Optty widgets are built to be configurable allowing merchants to configure UI elements such as font family, colours, etc within the UPP.

In the UPP, you can find the checkout and product widgets section. For both of these, you can enter into the editor what you would like to display for each particular APM when a customer clicks on their logo.

For more information regarding this, please refer to the and also check with your Optty integration support person for templates that we have on hand for certain APM’s.
◾
⚡
4️⃣
Widget Configuration Support Article