Activate Optty
To get started, Optty needs to be enabled as a payment method on your BigCommerce store.
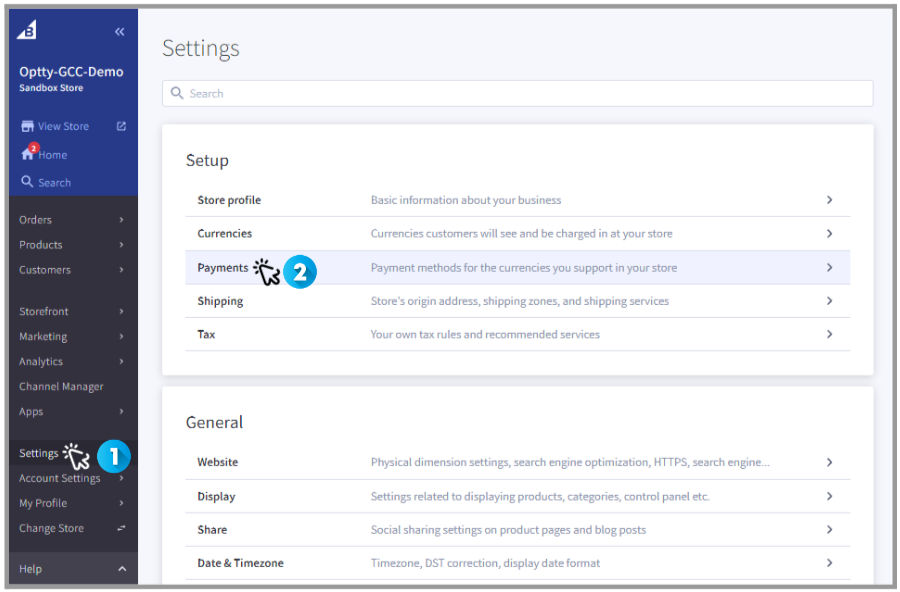
Once you’ve logged into the admin portal of your store, click Settings on the left hand menu and then Payments in Setup options.
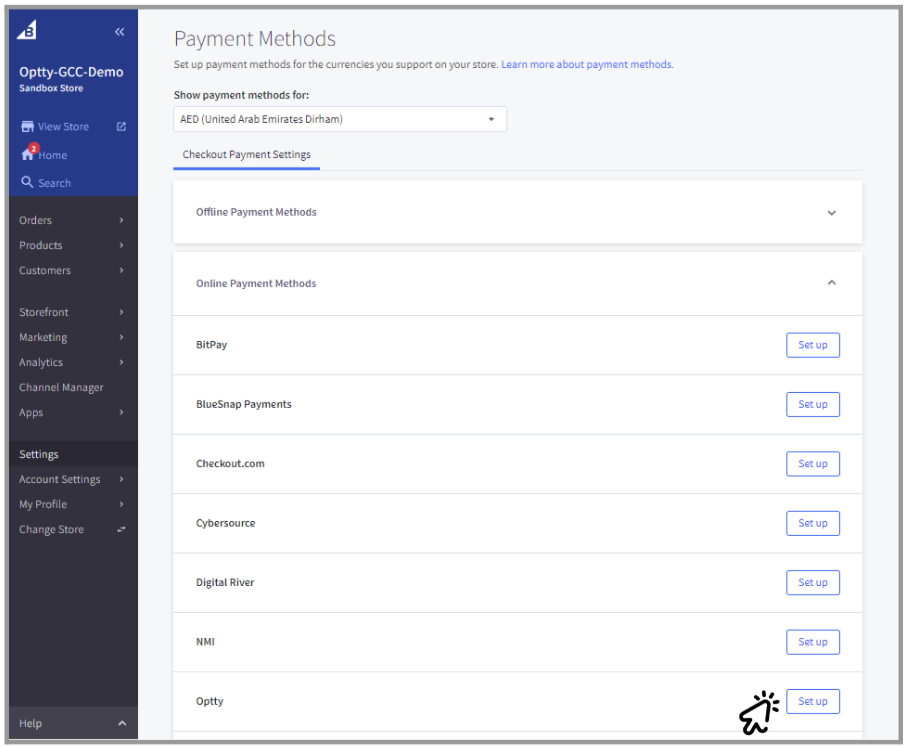
Then under Online Payment Methods, find Optty and click on the [Set up] button.
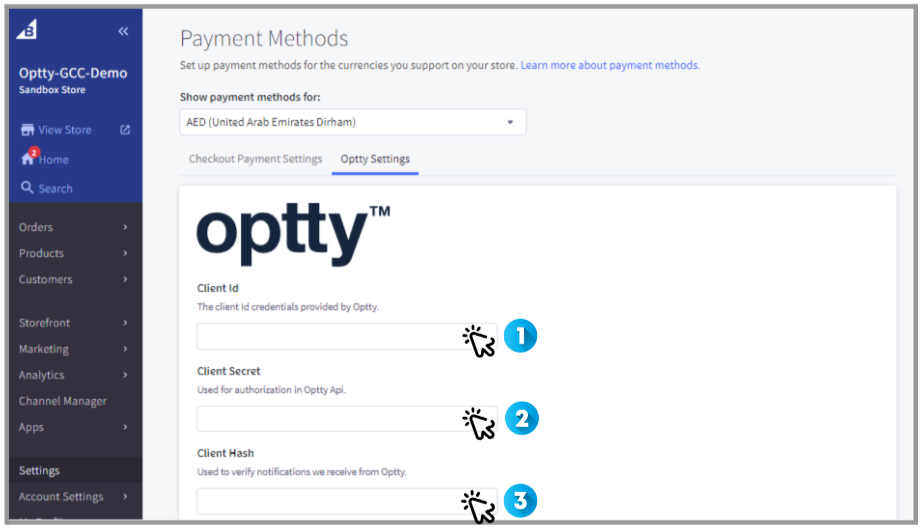
This will take you to the Optty settings page, where you can input your Client ID, Client Secret, and Client Hash.
For the sandbox environment, these can be found in your welcome email under Optty API Credentials. Please note that the Client Hash may also be called hmac or redirect secret.
Production credentials are provided to you once you’ve completed the onboarding process by one of the Optty team members.
In the box below your credentials, you need to click the [Enable] button to activate the Optty payment method on your checkout.
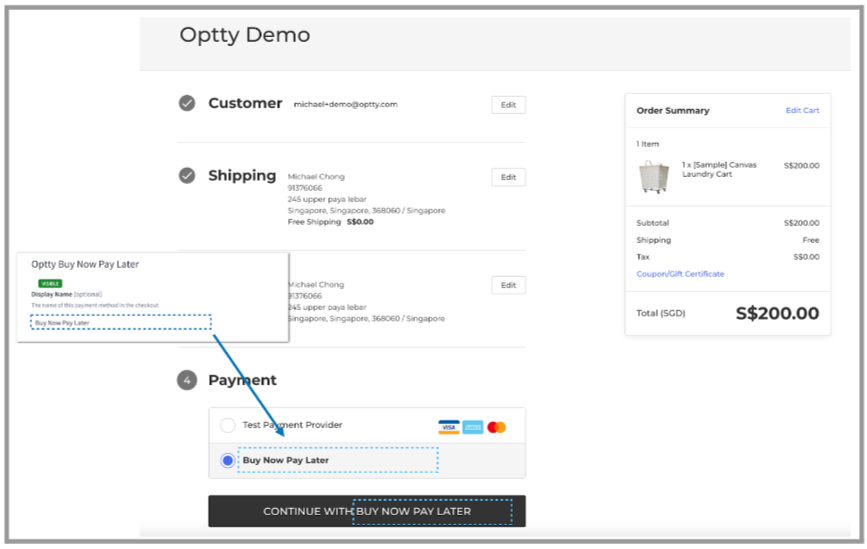
You can also change the name of the payment method, in the Display Name field. It’s defaulted to “Optty Buy Now Pay Later”.

As shown in the example below, this is the name that appears on your checkout.
Then finally on this page, you can also enable Test Mode by clicking on the Enable checkbox.
When Test mode is enabled, using your Optty Sandbox Credentials allows you to safely test your configuration without processing any live transactions.
Uncheck the “Enable” checkbox to switch over to the production mode, when you’re ready to move to the production.
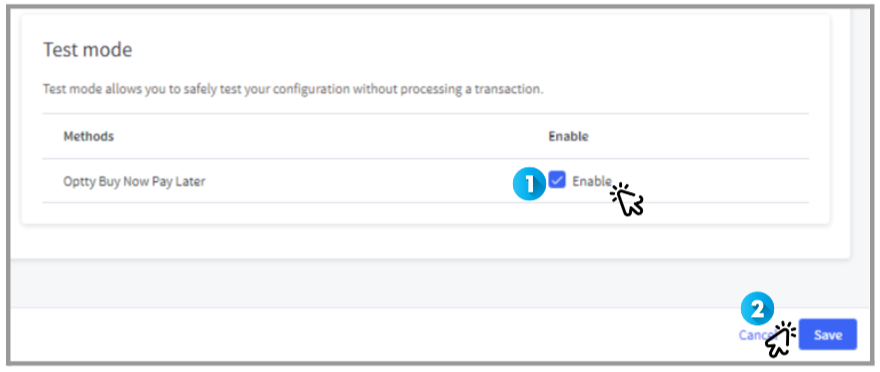
Remember to click the [Save] button to save everything you’ve inputted in the previous steps.
Once you have completed these steps and for the right payment options to appear at your checkout, you will need to add them in the Optty Universal Payment Platform (UPP) by performing steps as shown in this Support Article.