User Guide
4. User Guide
4.1 Roles, Responsibilities
Integration of this cartridge will typically be done by a SFCC (B2C commerce) developer.
Optty will provide API Client ID, Client Secret and Secret Key to be used with the API.
Optty introduces no new roles with this integration. You will need to update existing roles and update new ones if you want to use the Business Manager extension for Optty Transactions.
4.2 Business Manager
Once the cartridge is installed and integrated based on these instructions. You can see the ‘Optty’ module, under the Merchant Tools tab.
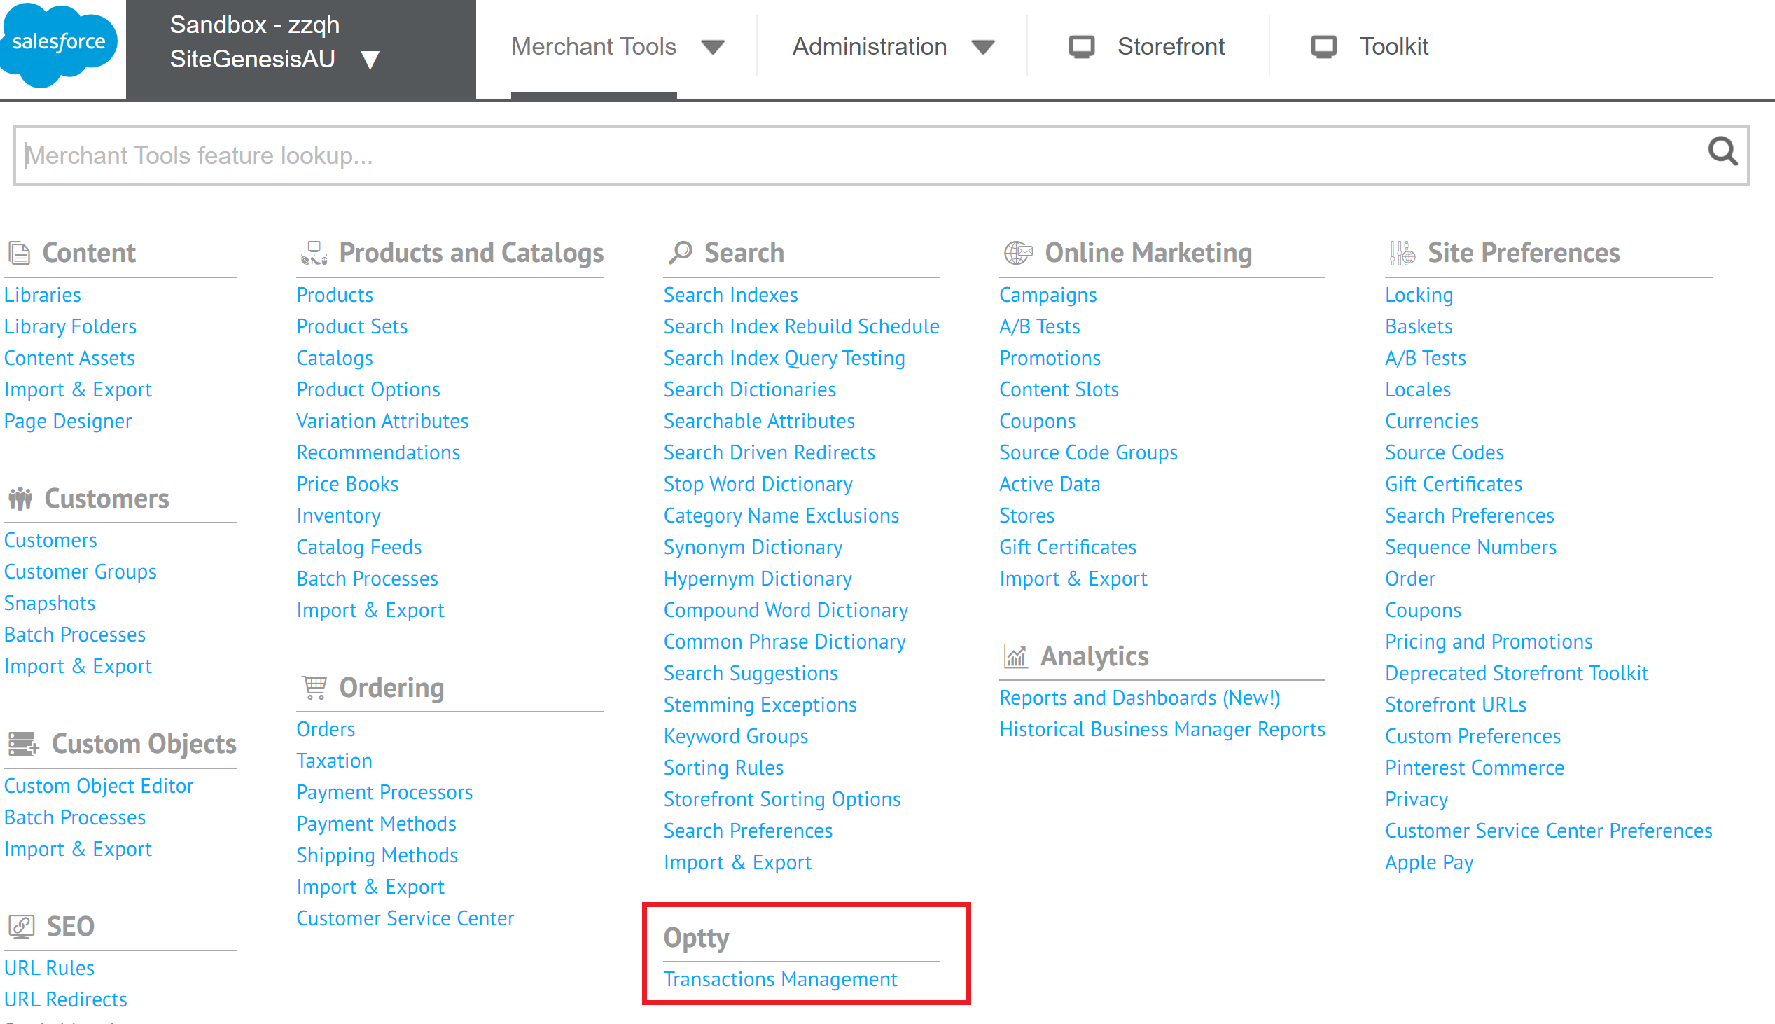
On click of ‘Transaction Management’, you will be redirected to the ‘Order List’ page.
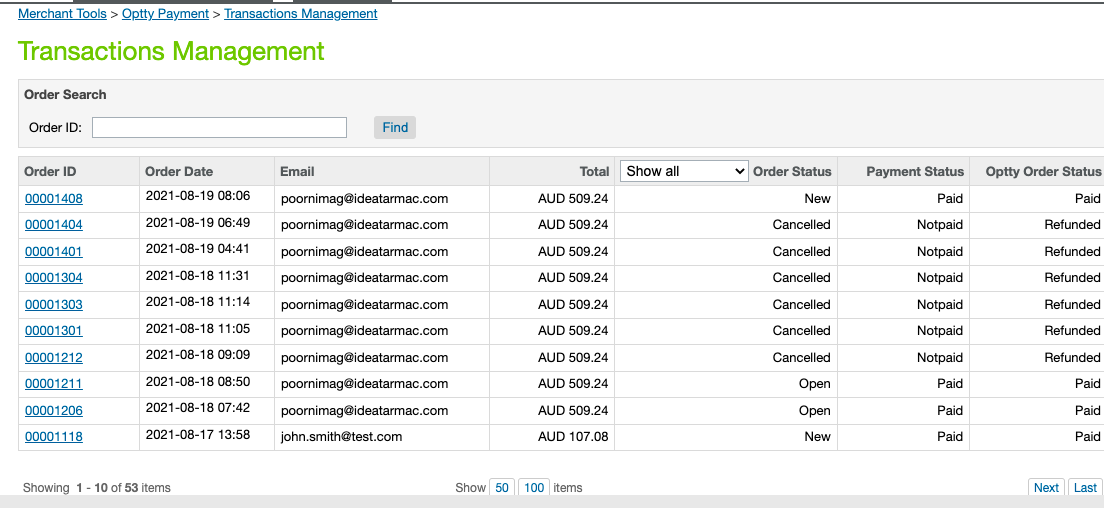
Order Status
Optty Payment Method Redirection
SFCC redirection
Optty Order Status
Created
Failed
Failed
Not Redirected to Optty
Created
Successful
Failed
Redirected to Optty
Failed(After order created)
Successful
Successful (But error on SFCC)
Failed at SFCC
New/Open
Successful
Successful
Paid
Click on the ‘Order ID’ and it will redirect to the ‘Order Details’ page.
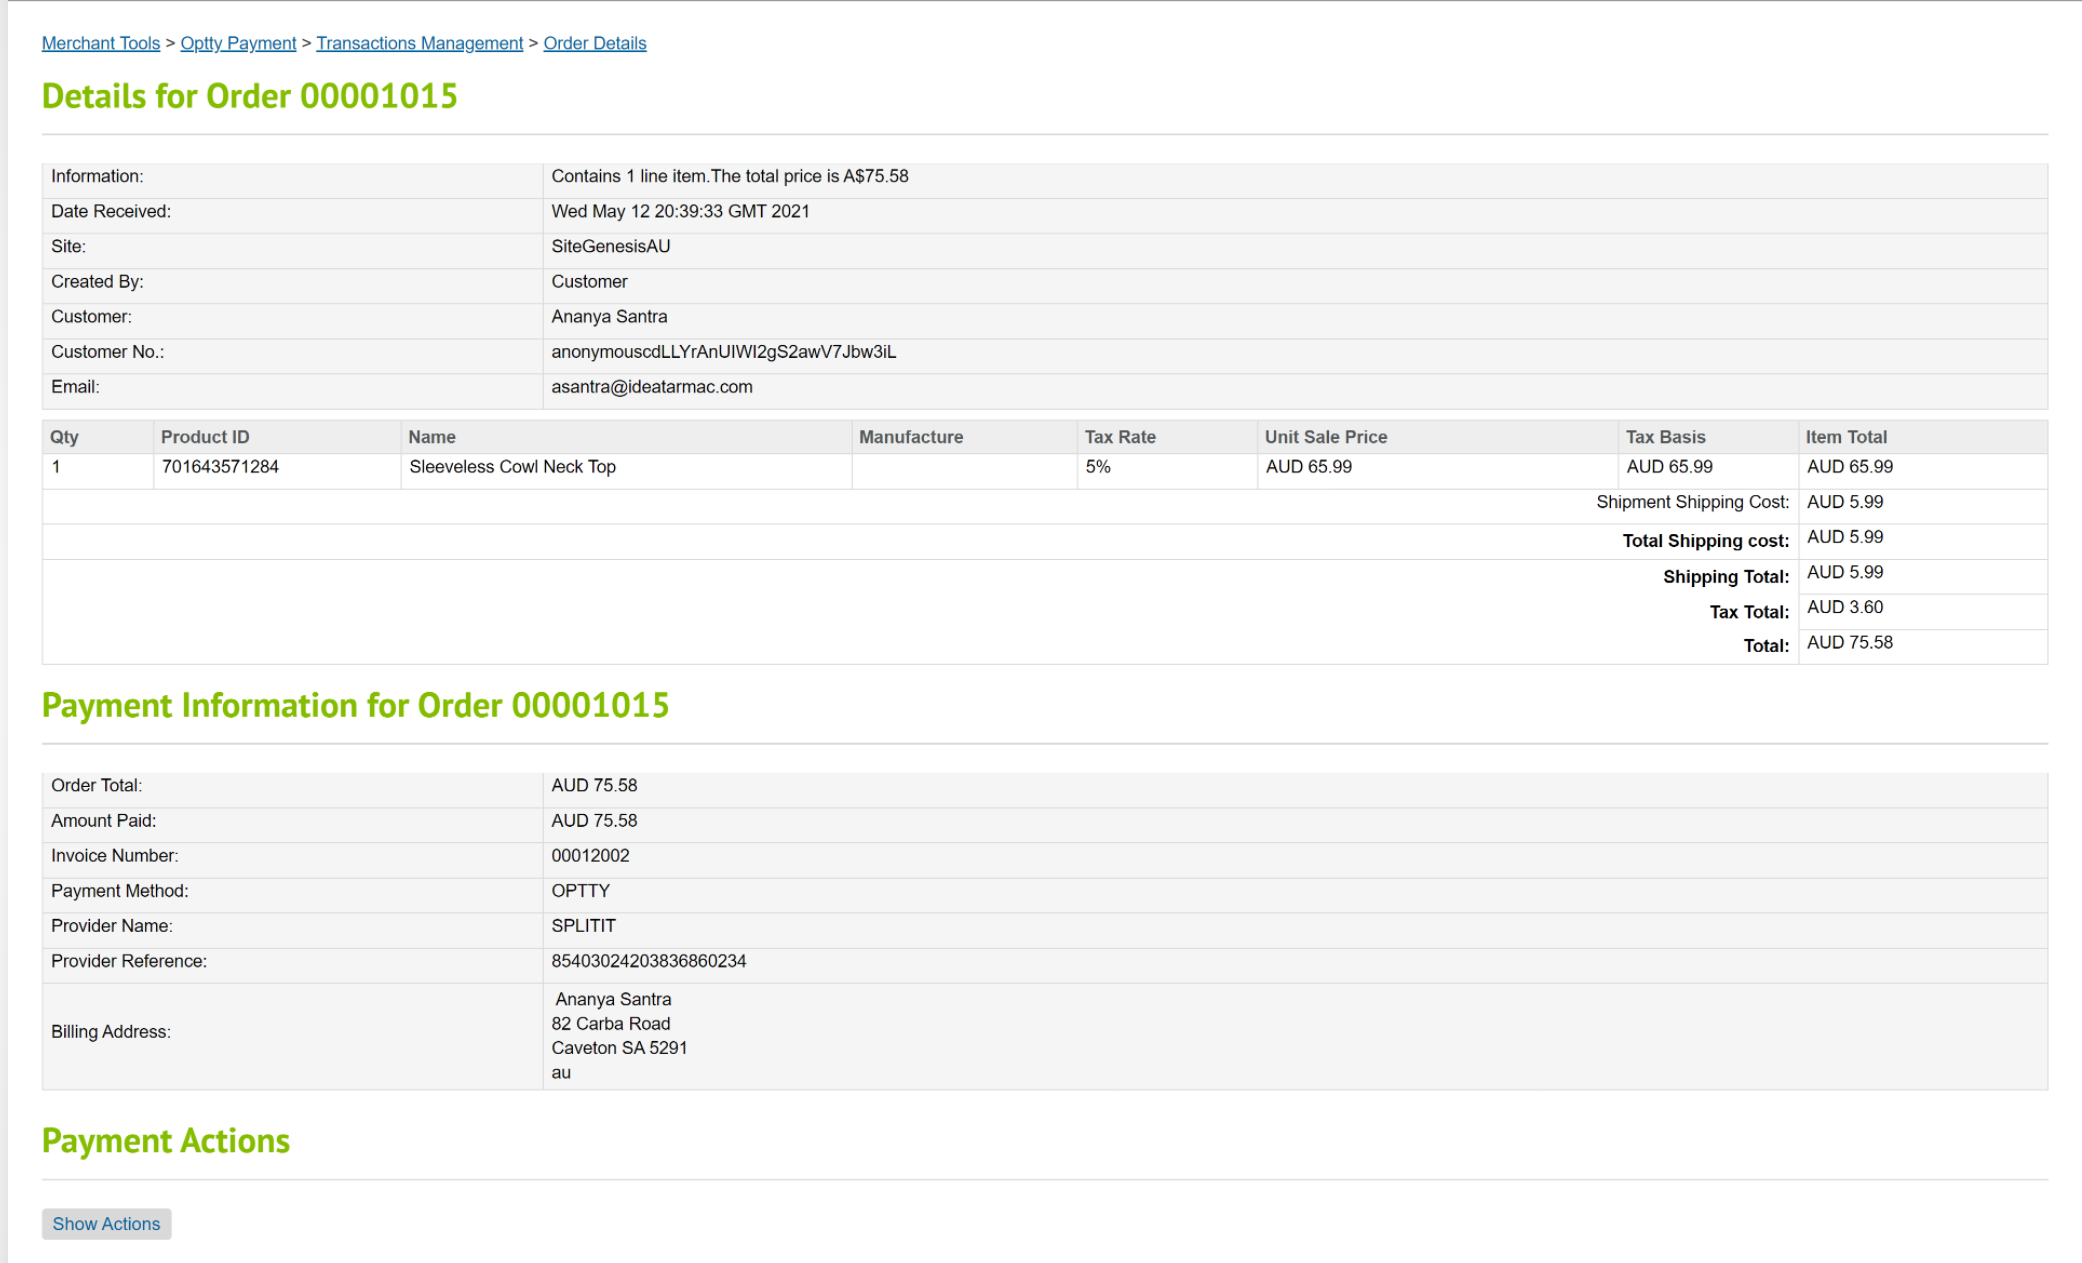
On click of the ‘Show Actions’ button, a popup to refund the transaction will appear.
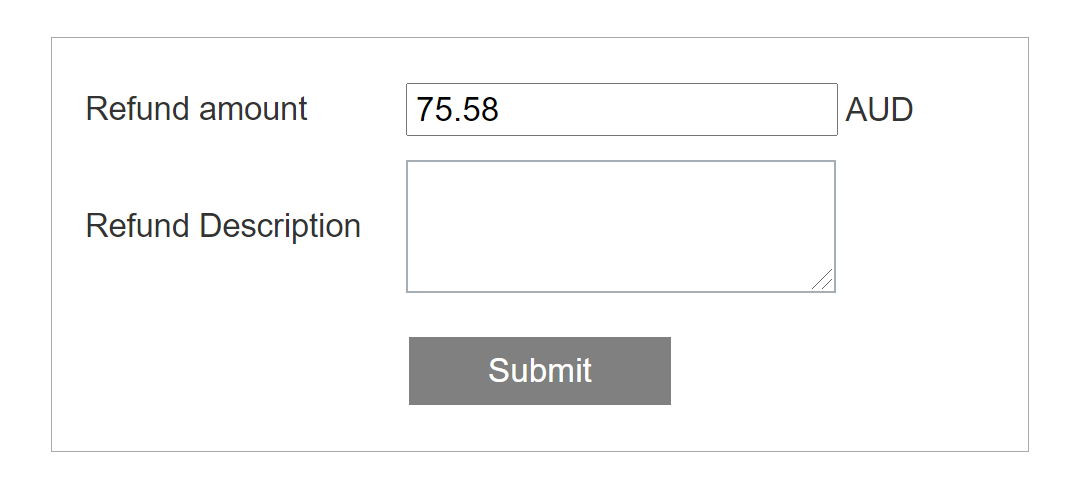
If the transaction status is ‘SUCCESSFUL’ and the paid amount is greater than 0, then the transaction can be refunded. To refund the full amount, enter the description in the ‘Refund Description’ text area and click on the ‘Submit’ button.
To refund the partial amount, enter the amount which you want to refund and enter the description in ‘Refund Description’ text area. Then click on the ‘Submit’ button.
Performing refund action on Orders whose status is Created or Failed and updating the Optty Order Status field accordingly.
Order Status
Optty Order Status
Refund Type
OpttyTransactionStatus
Optty Order Status
Created
Not Redirected to Optty
Full/Partial
Payment Method orderID Not Found at Optty
Never Paid
Created
Redirected to Optty
Full/Partial
Successful
Refunded/PartPaid
Failed(AfterOrder created)
Failed at SFCC
Full/Partial
Successful
Refunded/PartPaid
4.3 Storefront Functionality
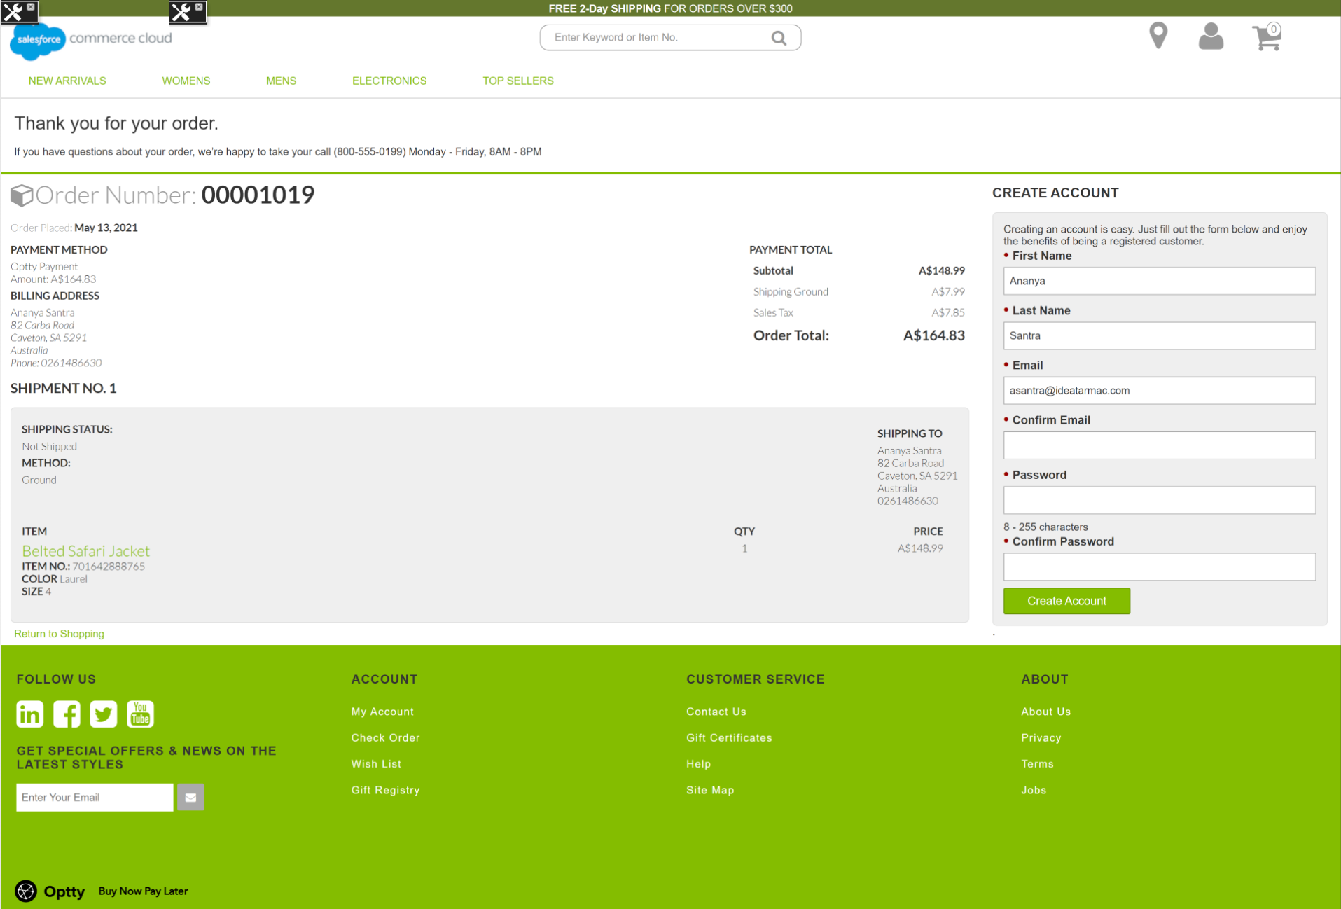
Once the cartridge is installed and integrated based on instructions, you can see the Optty widgets in the storefront and try to place an order using the ‘Optty’ payment option.
Optty Widgets
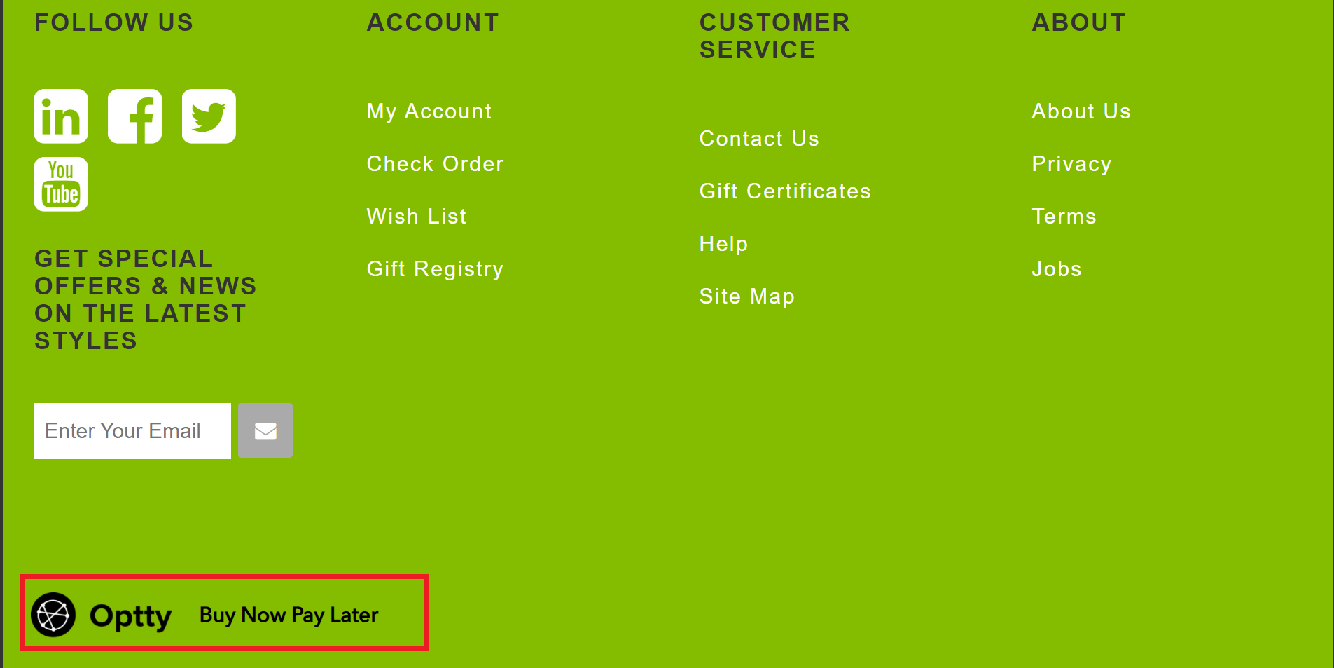
Footer widget – The footer widget will be displayed in the footer of the storefront.
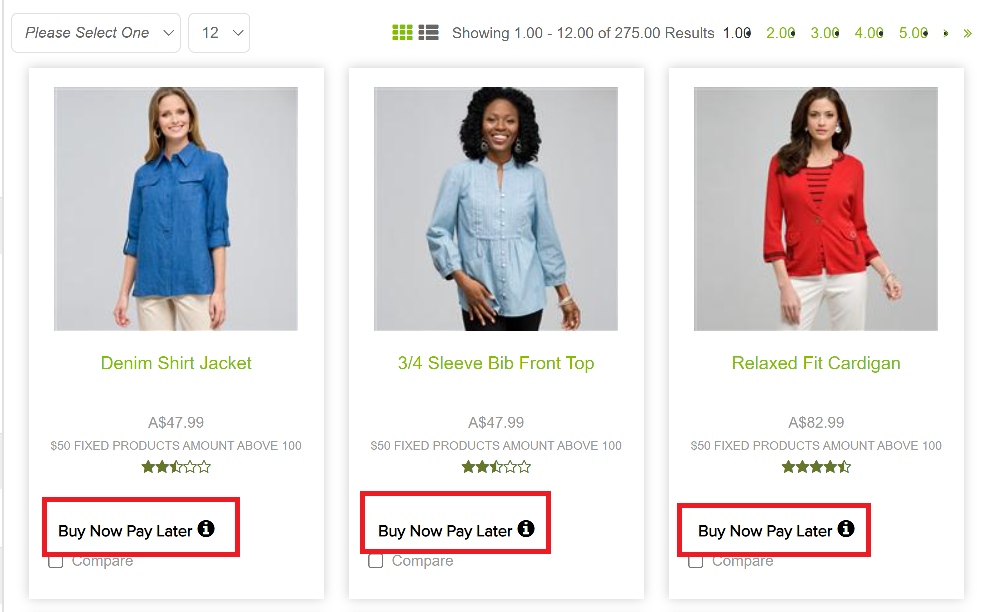
Product listing widget – The product listing widget will be displayed on the product listing page.
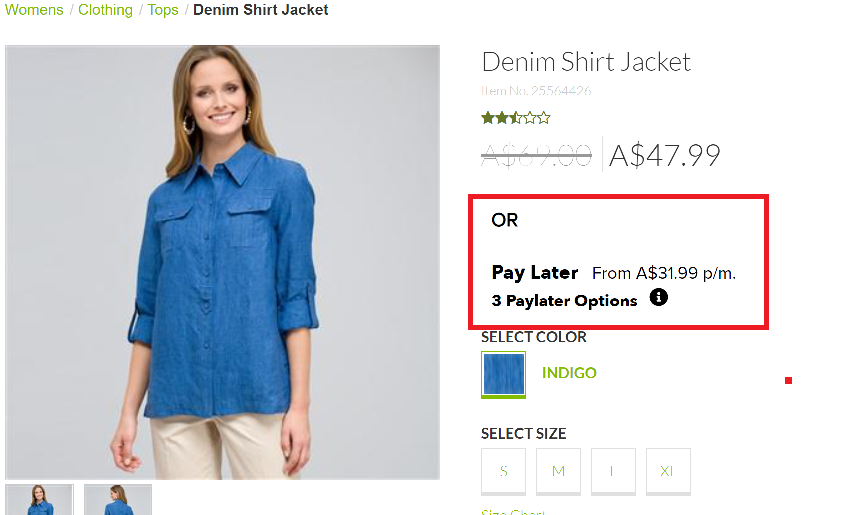
Product details widget – The product details widget will be displayed on the product details page and quick view page.
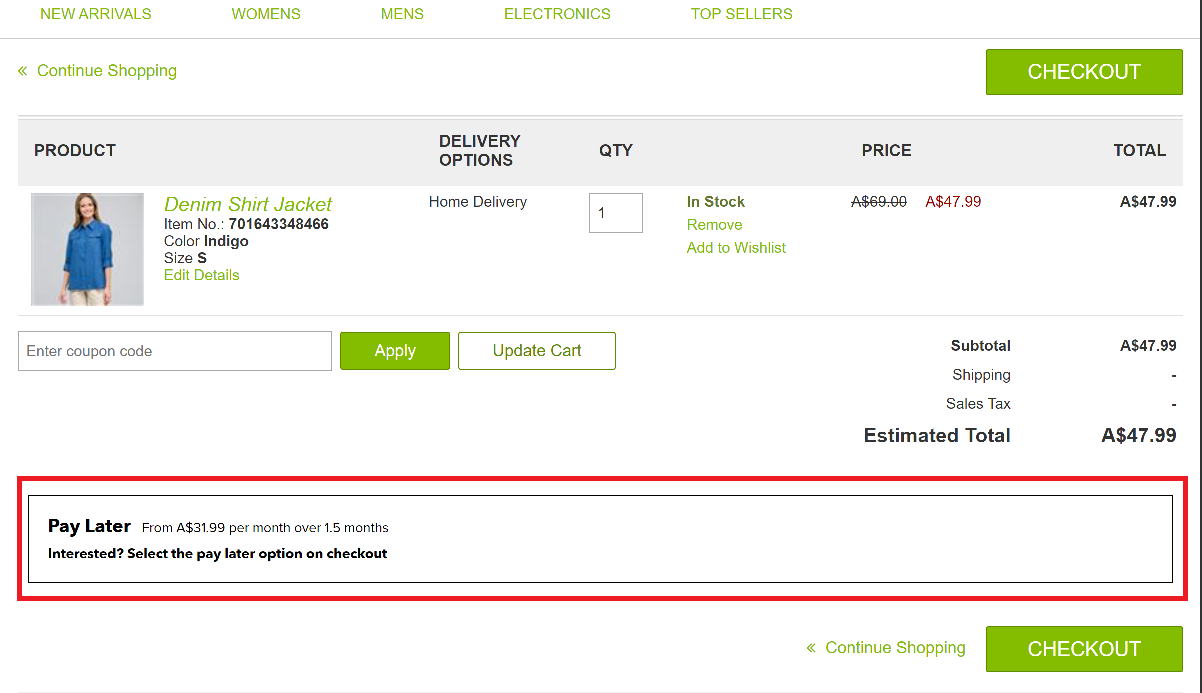
the Cart widget – The cart widget will be displayed on cart page.
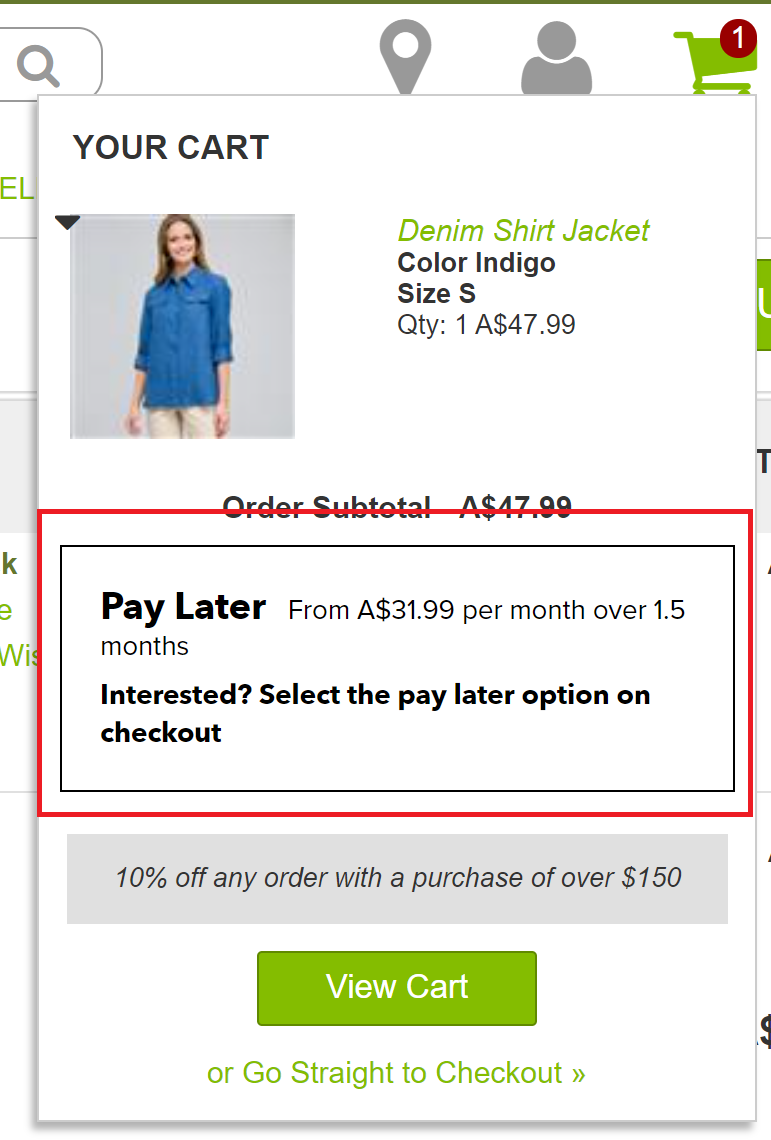
Minicart widget – The minicart widget will be displayed on the minicart page.
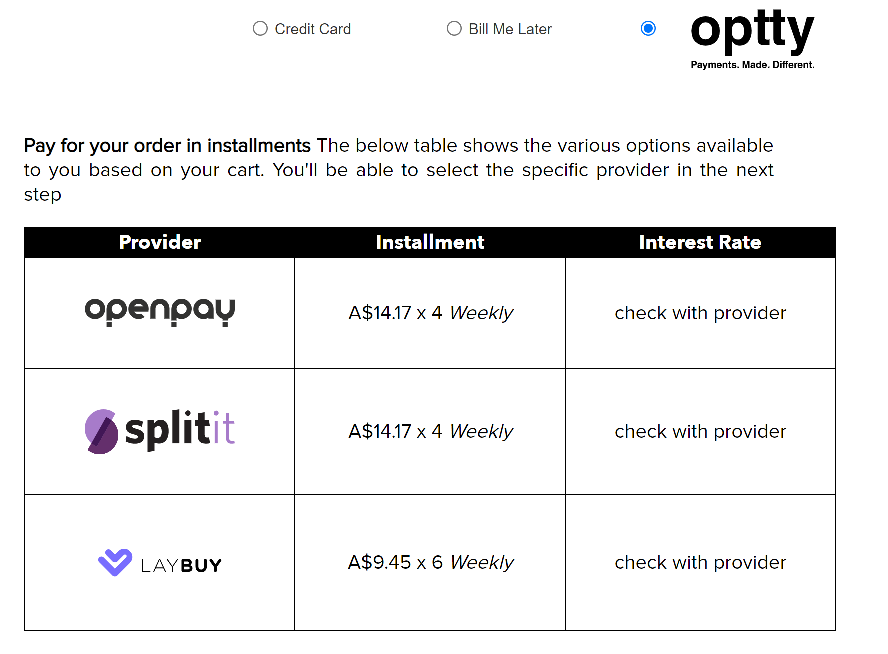
Payment options widget – The payment options widget will be displayed on the billing page upon the selection of the Optty payment option.
Checkout widget
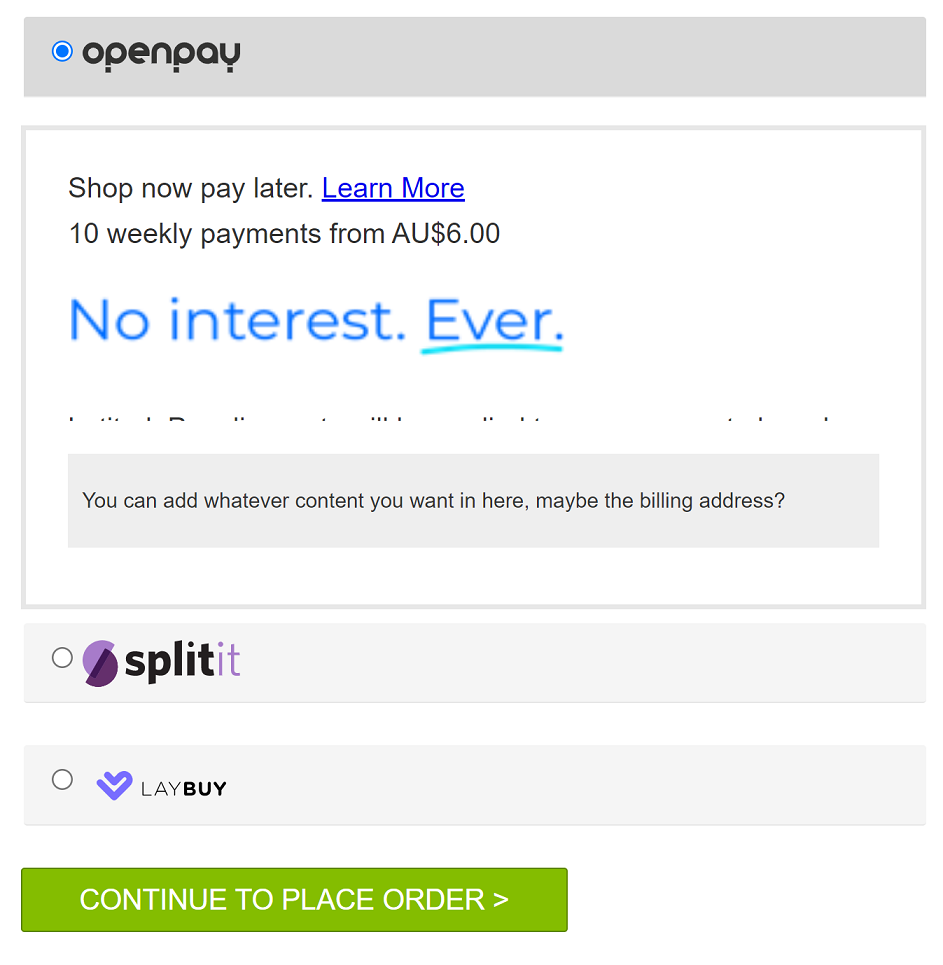
If the default checkout is enabled and summary page is disabled in custom preference setting, then the checkout widget will be displayed on click of ‘Continue to Place Order’ button in billing page. If the default checkout is enabled and summary page is enabled in custom preference setting, then the checkout widget will be displayed on click of ‘Place Order’ button in summary page.
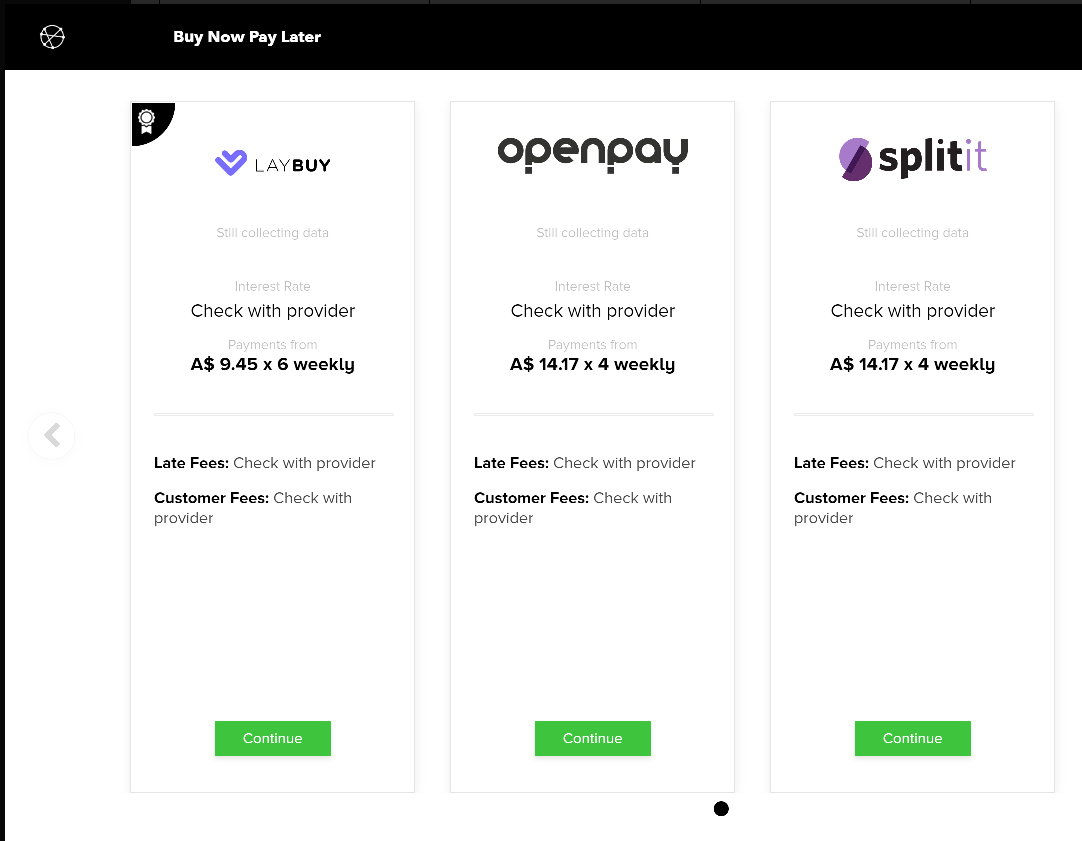
If the default checkout is disabled and custom checkout button is enabled in custom preference setting, then the checkout widget will be displayed on selection of payment option in billing page.
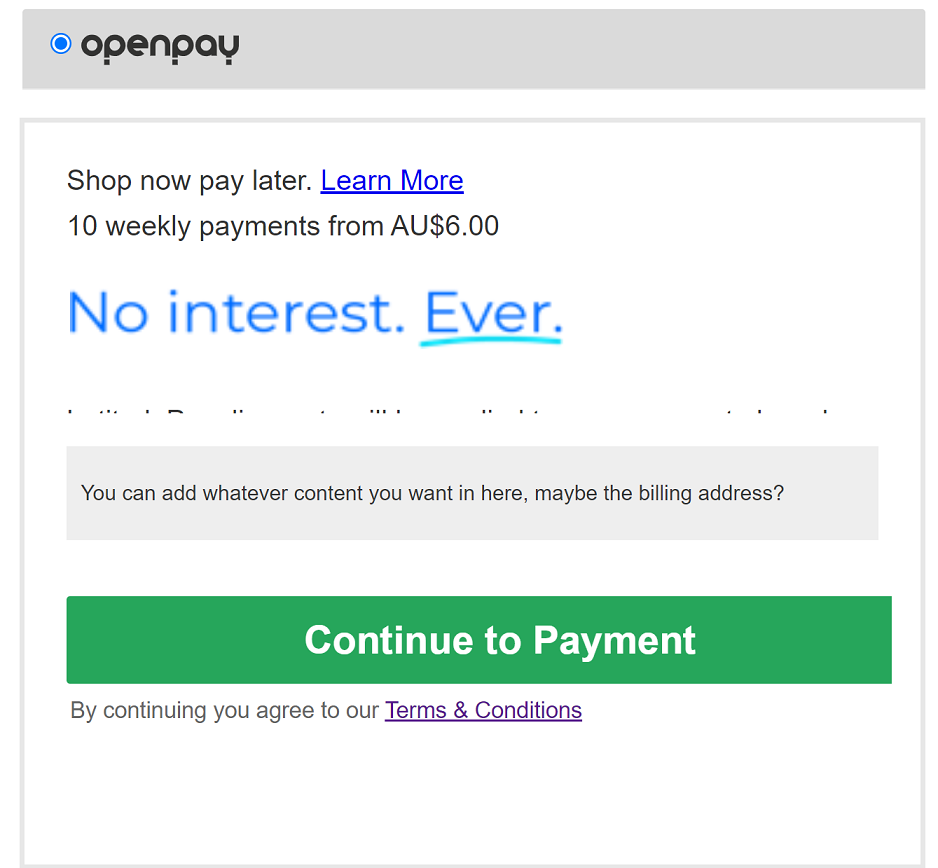
If the default checkout and custom checkout buttons are disabled in the custom preference setting, then the checkout widget will be displayed on the selection of payment options on the billing page.
Checkout Flow
Optty Default checkout
Add product into the cart.
Redirect to the checkout page.
Checkout as a guest or log in if you have an account.
Fill in the shipping address and select the shipping method.
Continue To the billing page.
Fill in the billing address and select the payment option as Optty.
If the summary page is enabled in the custom preference setting, on the click of the ‘Continue to Place Order’ button, it will redirect to a summary page and on the click of the ‘Place Order’ button, the Optty checkout pop-up will open. Else on click of the ‘Continue to Place Order’ button on the billing page, the Optty checkout pop-up will open.
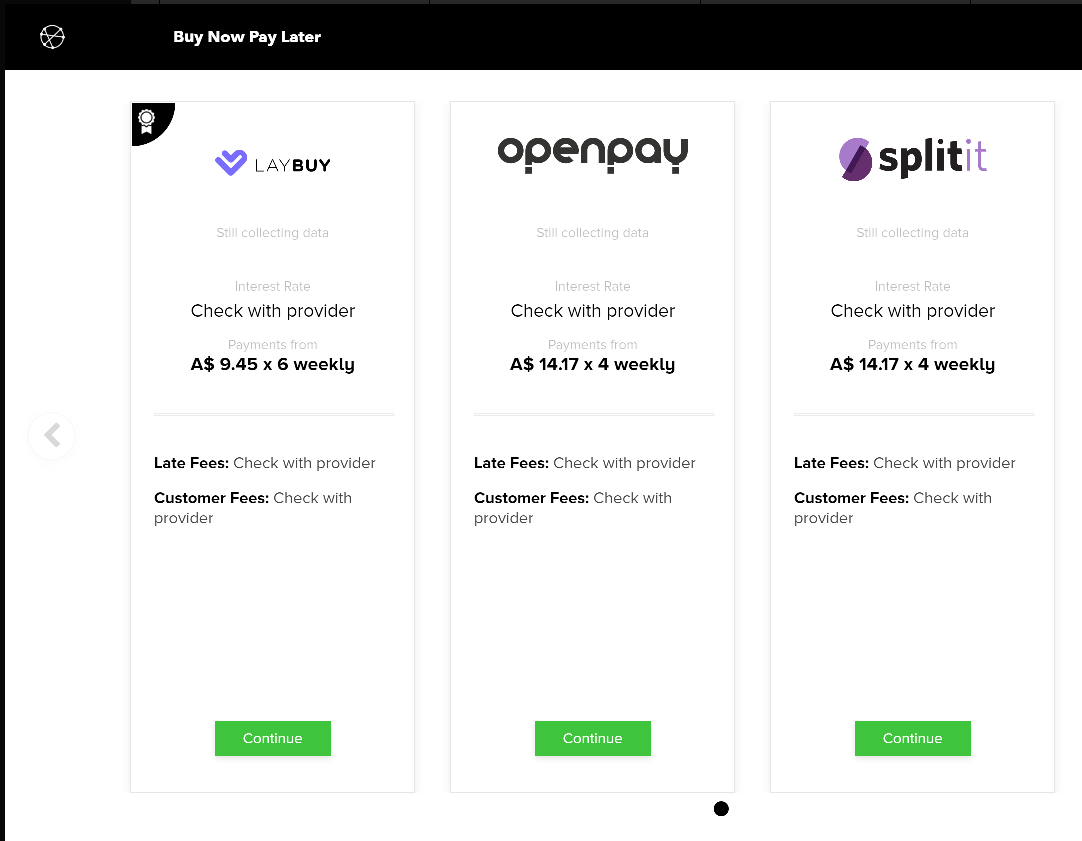
Click on the ‘Continue’ button of any provider. It will redirect to provider page.
Fill in the necessary data on the provider page.
Then submit the order.
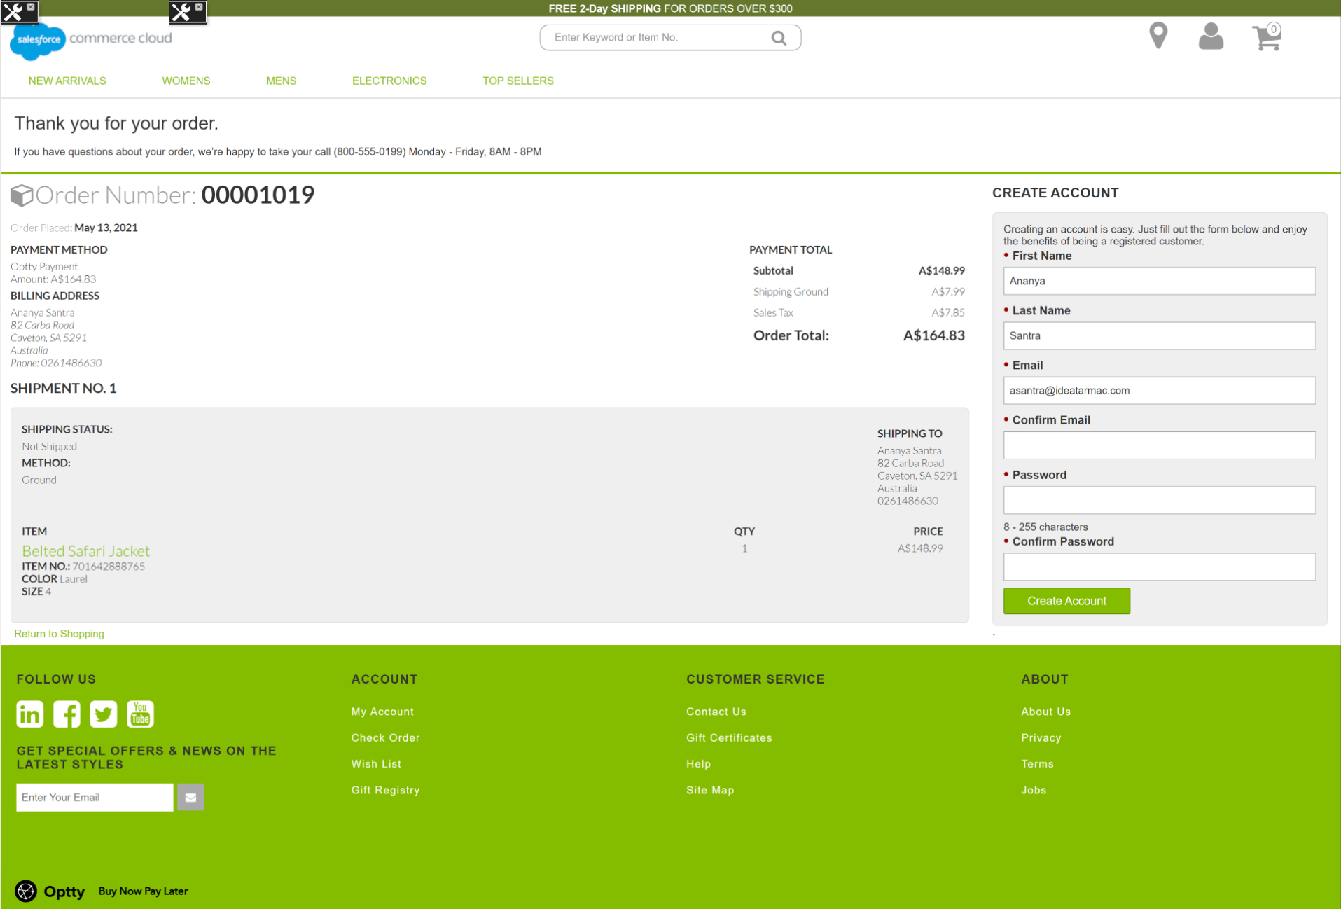
If the payment is successful it will redirect to an order confirmation page, else it will redirect to the billing page with an error message.
Optty Custom Checkout
If opttyDefaultCheckout is disabled in the custom preferences setting, then all the Payment Providers will be seen as payment methods on the billing page.
The summary Page and Custom checkout button is enabled in the custom preference setting.
Add product into the cart.
Redirect to the checkout page.
Checkout as a guest or log in if you have an account.
Fill in the shipping address and select the shipping method.
Continue To the billing page.
Fill in the billing address.
On selection of the payment option, the checkout widget will display.
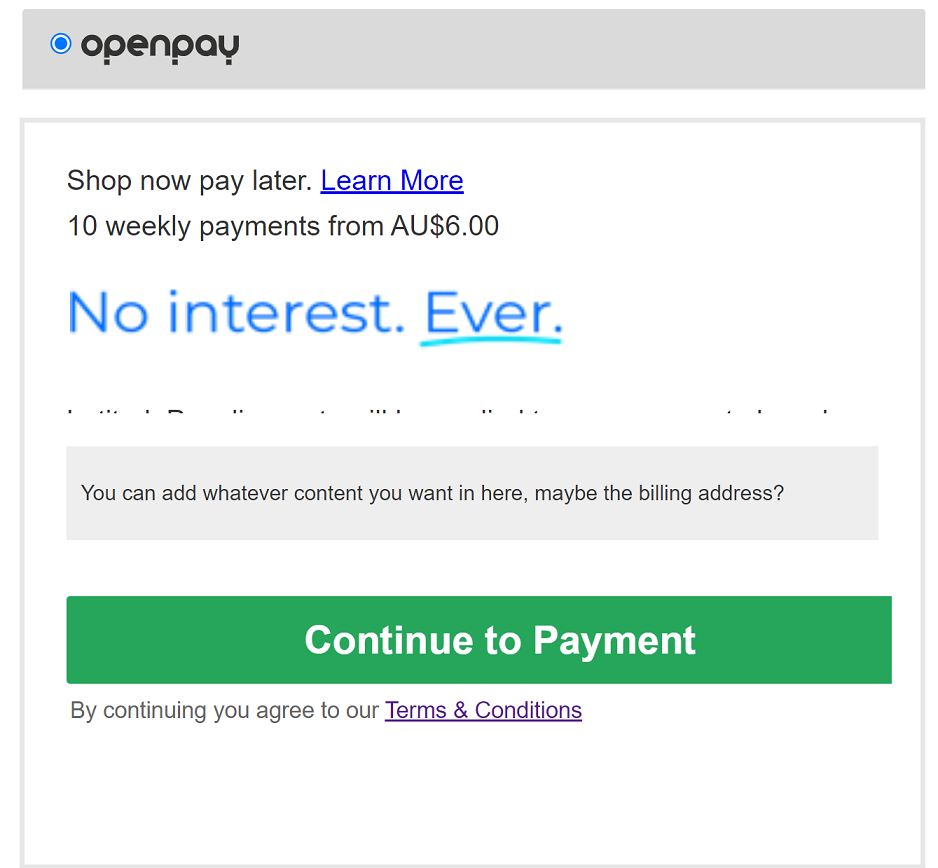
the If the summary page is enabled in the custom preference setting, on click of the ‘Continue to Payment’ button, it will redirect to a summary page and on click of the ‘Place Order’ button, it will redirect to the Optty provider login page or payment details page. Else on click of the ‘Continue to Payment’ button on the billing page, it will redirect to the Optty provider login page or payment details page.
Fill in the necessary data on the provider page.
Then submit the order.
If the payment is a success it will redirect to an order confirmation page, else it will redirect to the billing page with an error message.
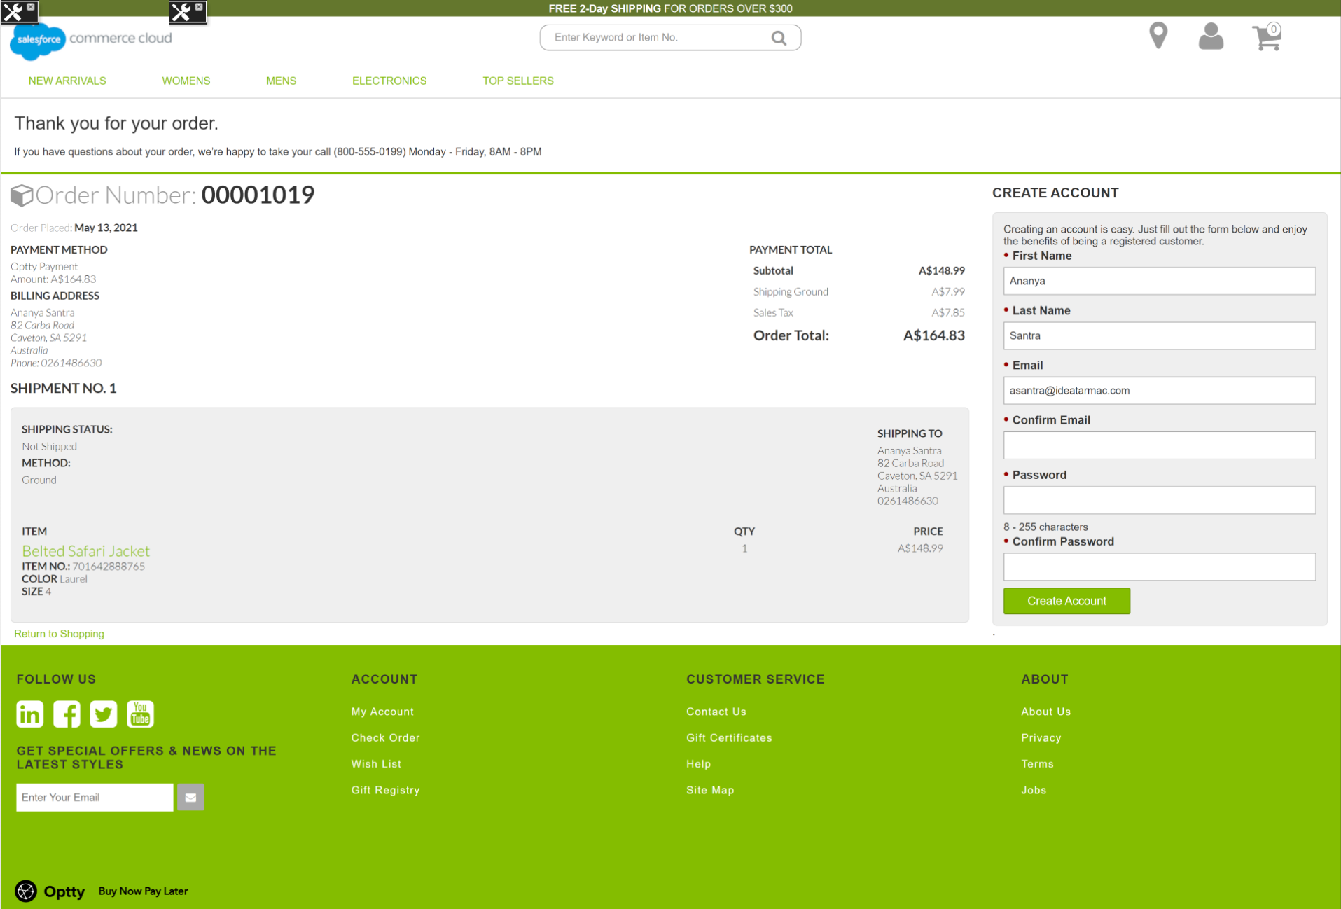
The summary page is disabled, and the Custom checkout button is disabled in the custom preference setting.
Add product into cart.
Redirect to checkout page.
Checkout as guest or login if you have account.
Fill the shipping address and select the shipping method.
Continue To billing page.
Fill the billing address and select the payment option.
If the summary page is enabled in custom preference setting, on click of ‘Continue to Place Order’ button, it will redirect to summary page and on click of ‘Place Order’ button, it will redirect to optty provider login page or payment details page. Else on click of ‘Continue to Place Order’ button in billing page, it will redirect to optty provider login page or payment details page.
Fill the necessary data in provider page.
Then submit the order.
If the payment is success it will redirect to order confirmation page, else it will redirect to billing page with error message.
